Mobile App Sites
"Sites are the locations where work is carried out by your mobile workforce. In the mobile App you can navigate to these locations and record activity against each site"
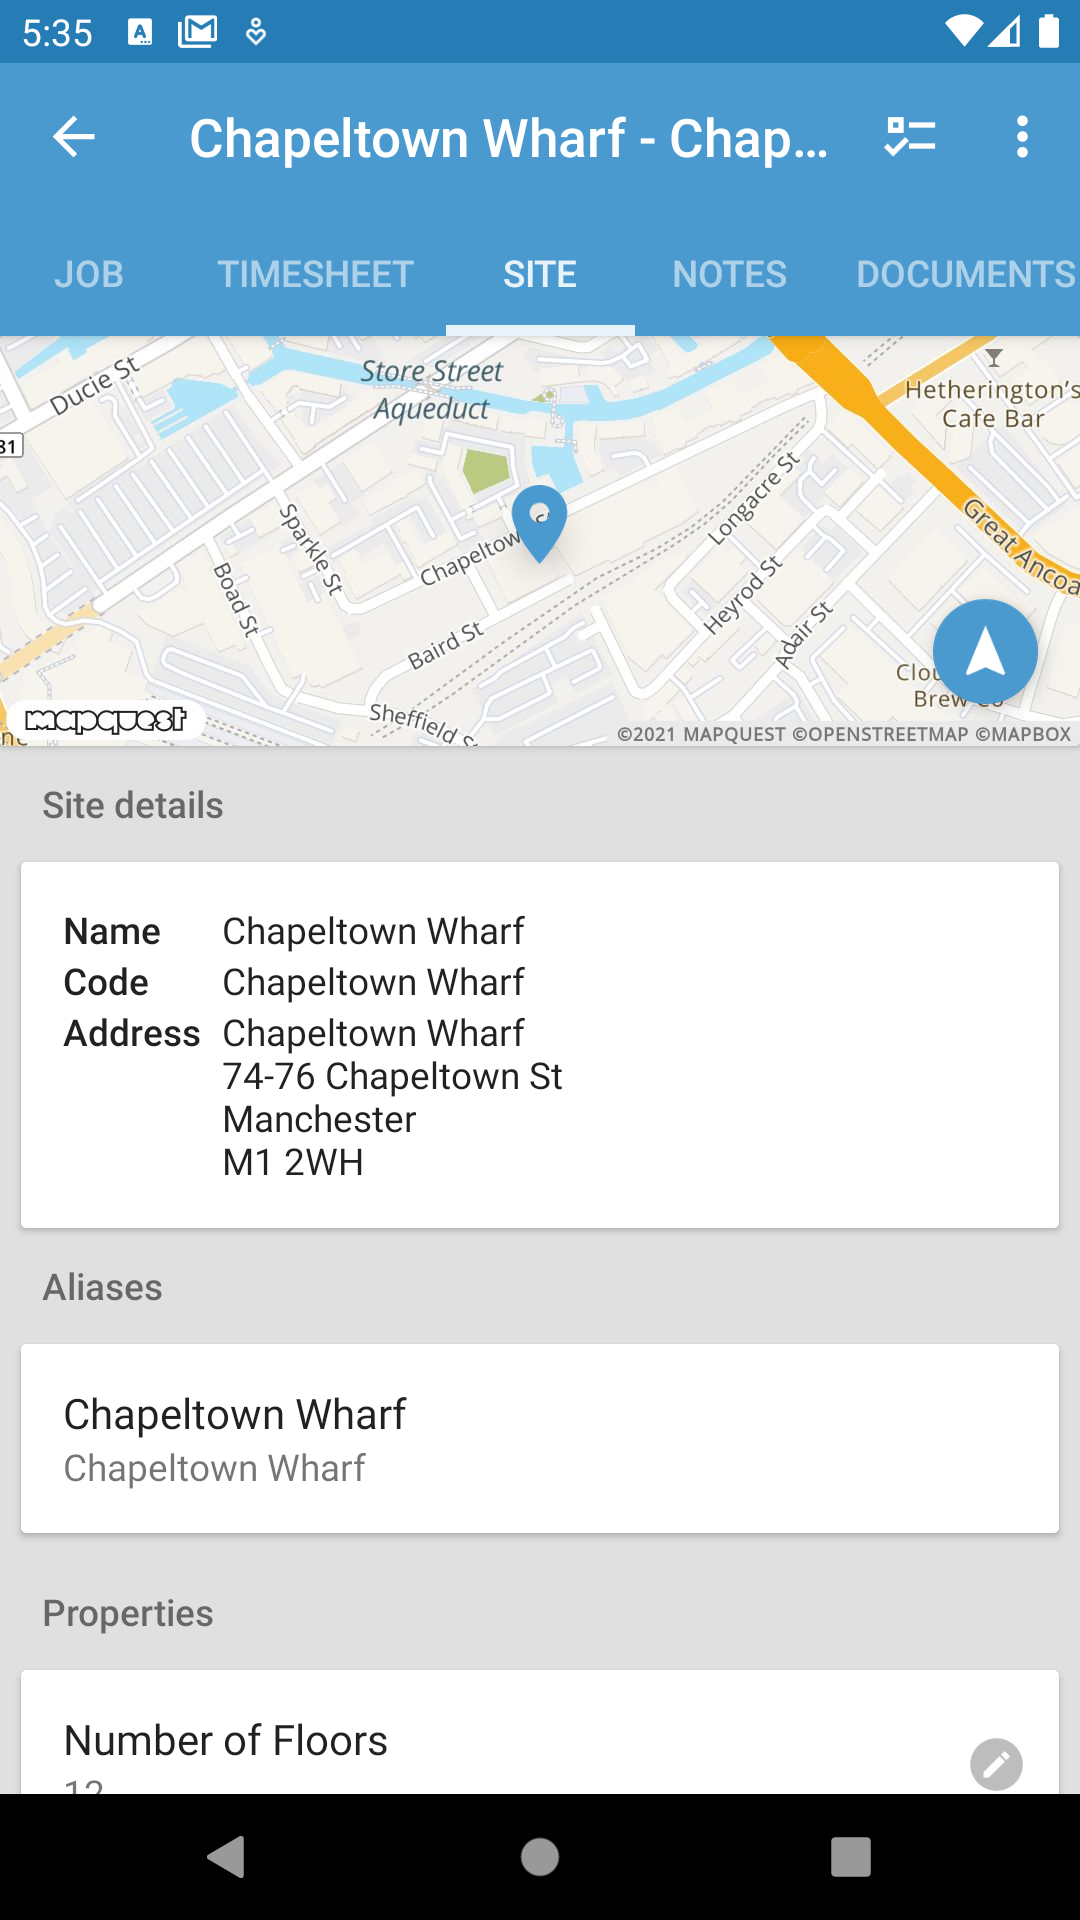
Accessing the site function can be done from the main menu or from within a job area
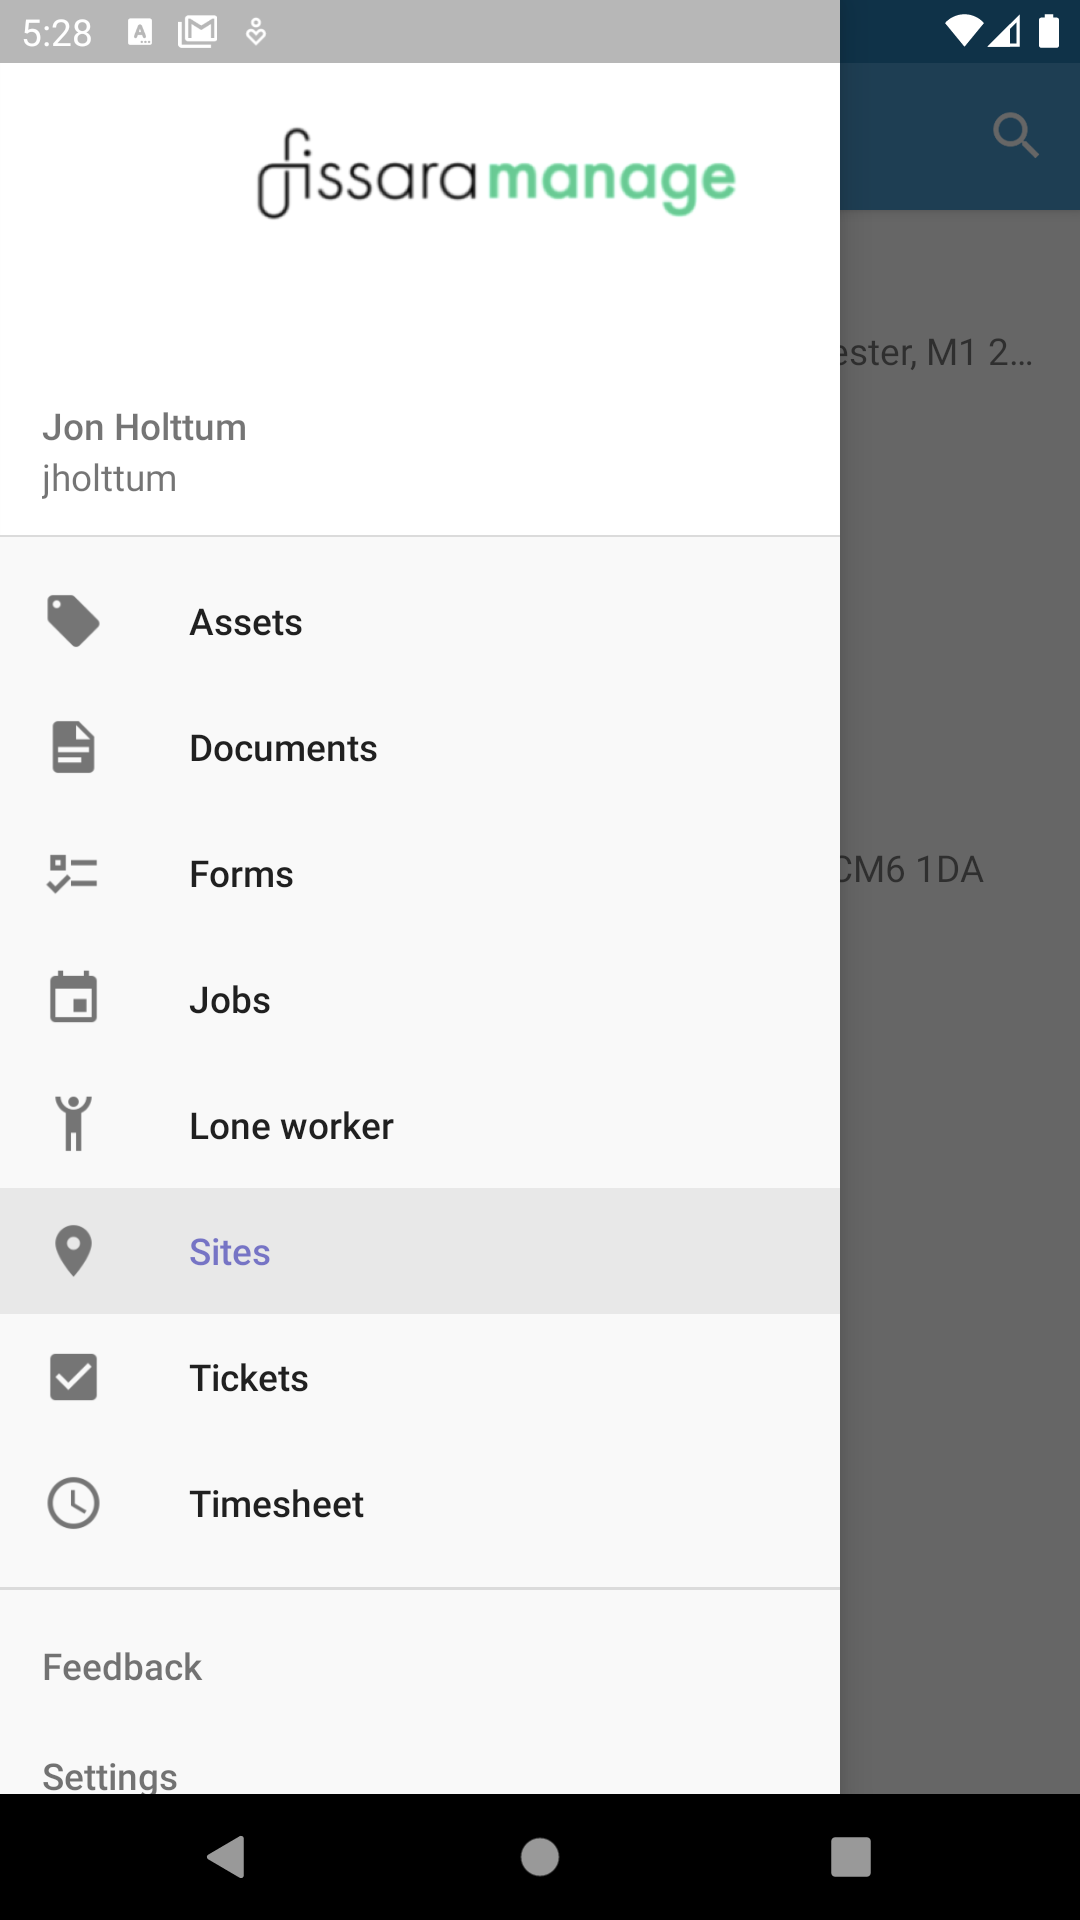
From the main menu locate and press on the Site Icon, the menu item will then be highlighted in grey and take you to the Site List shown below. From within the Job, click on the Site tab to access the site details directly. Sites can easily be created via the web console ⊕ Info Here
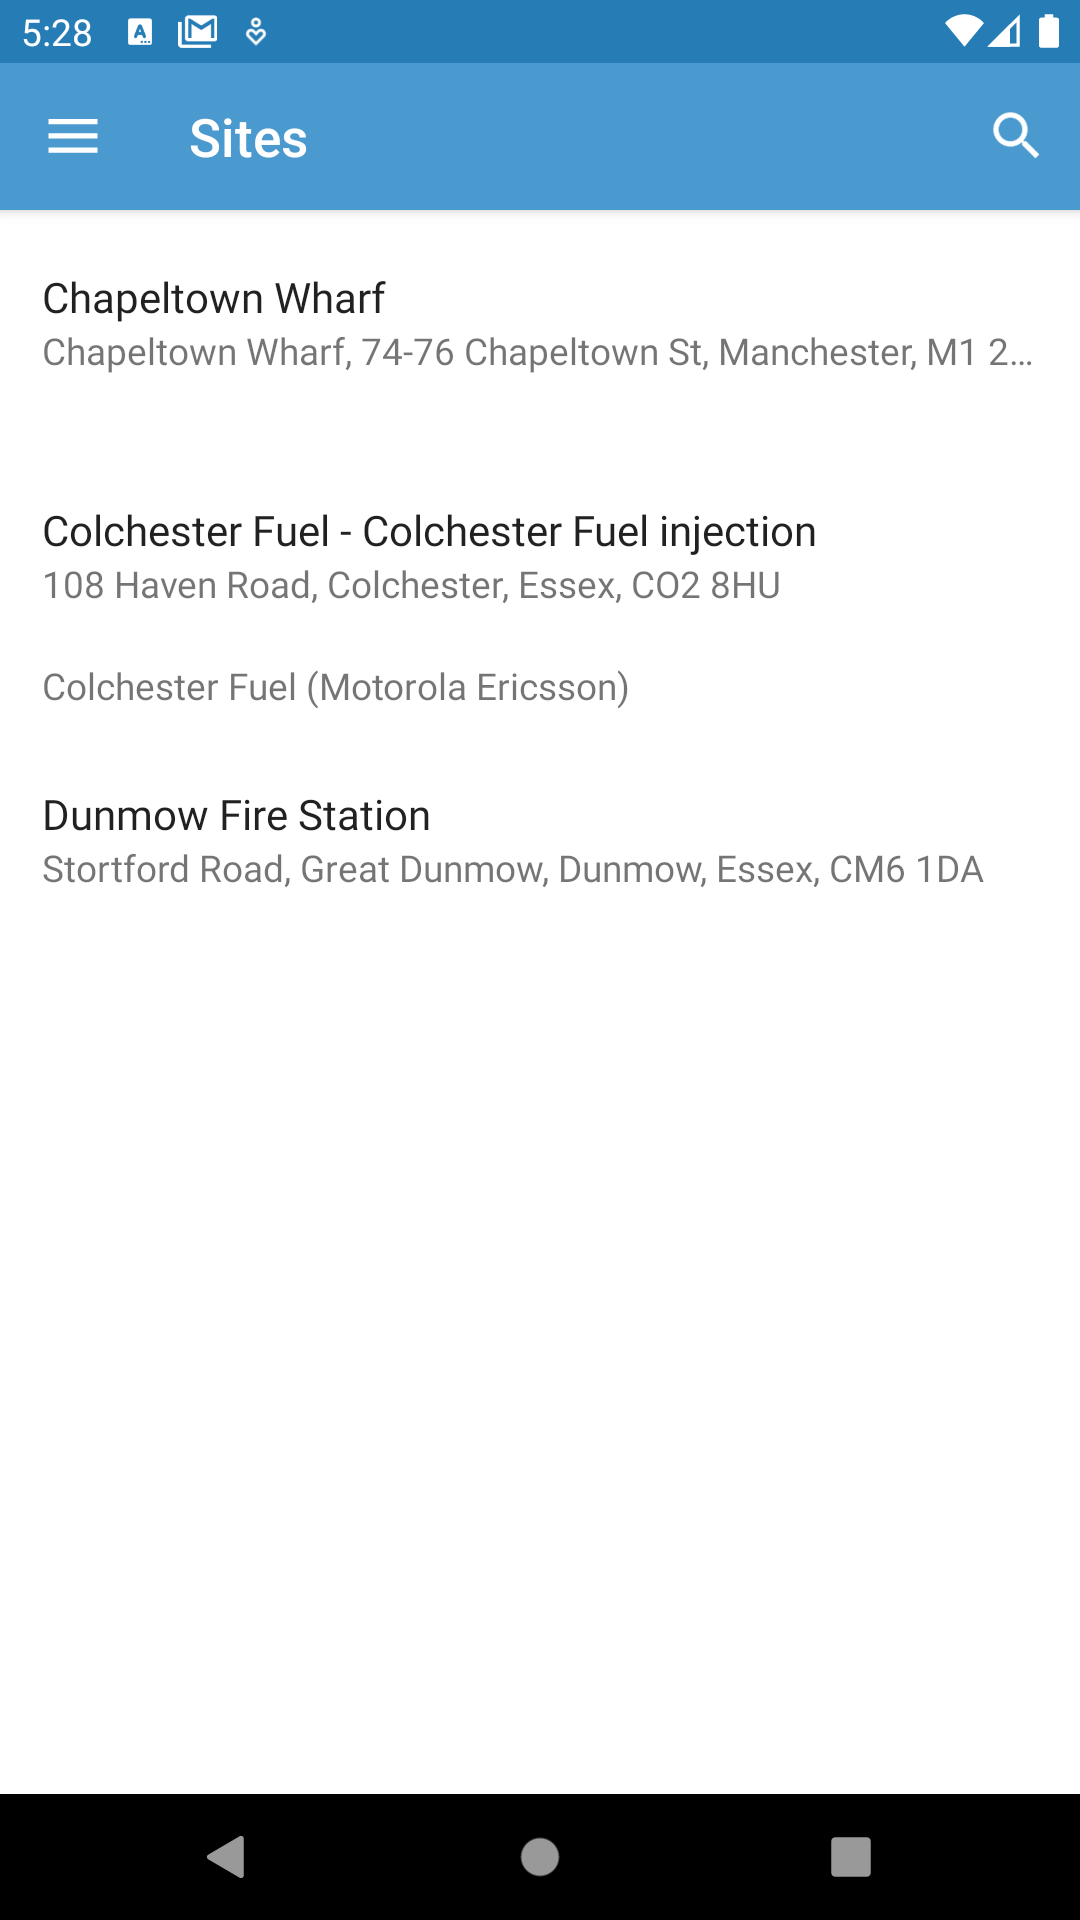
Site List
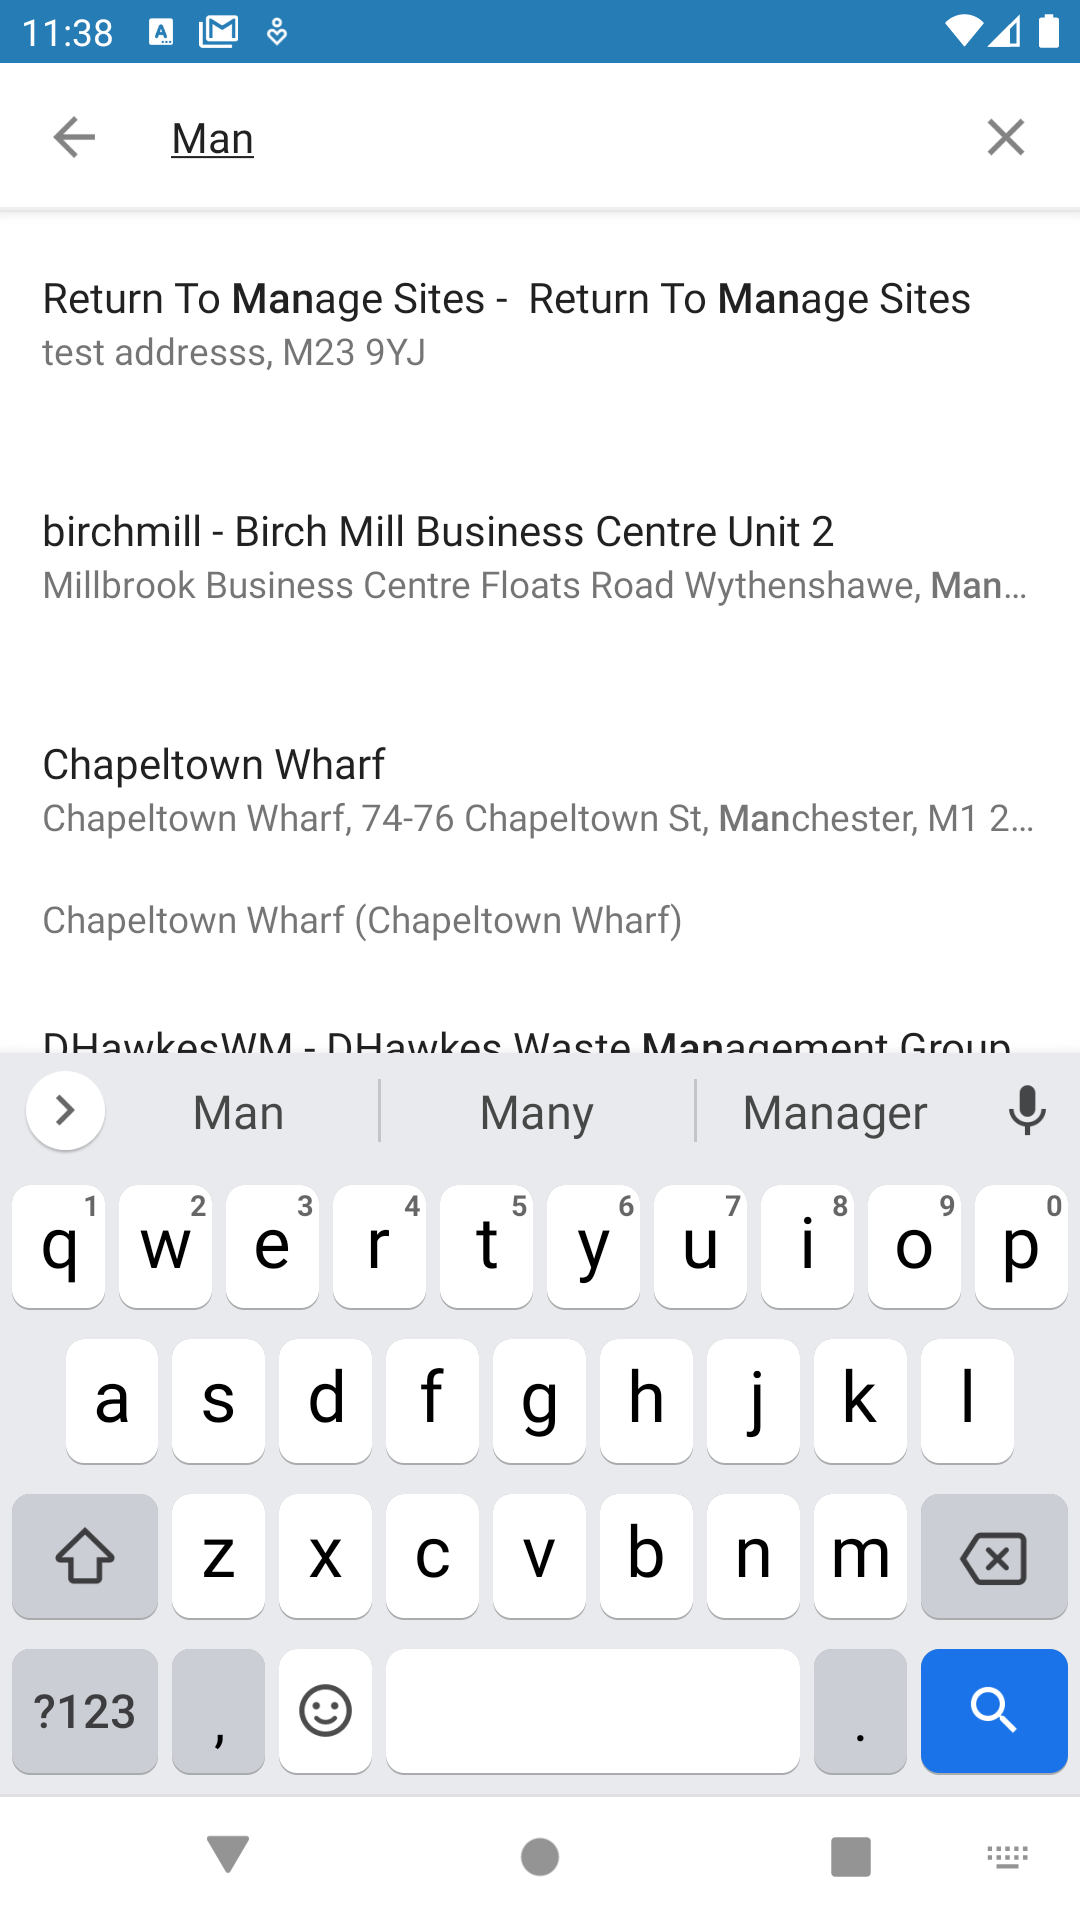
This list shows all of the individual sites that are stored for the user. Sites are added to this list when a Job at that site are loaded into the App. It is also possible to search for any site held on the system from the search bar at the top of the screen. A minimum of 3 characters are required .
Site Details
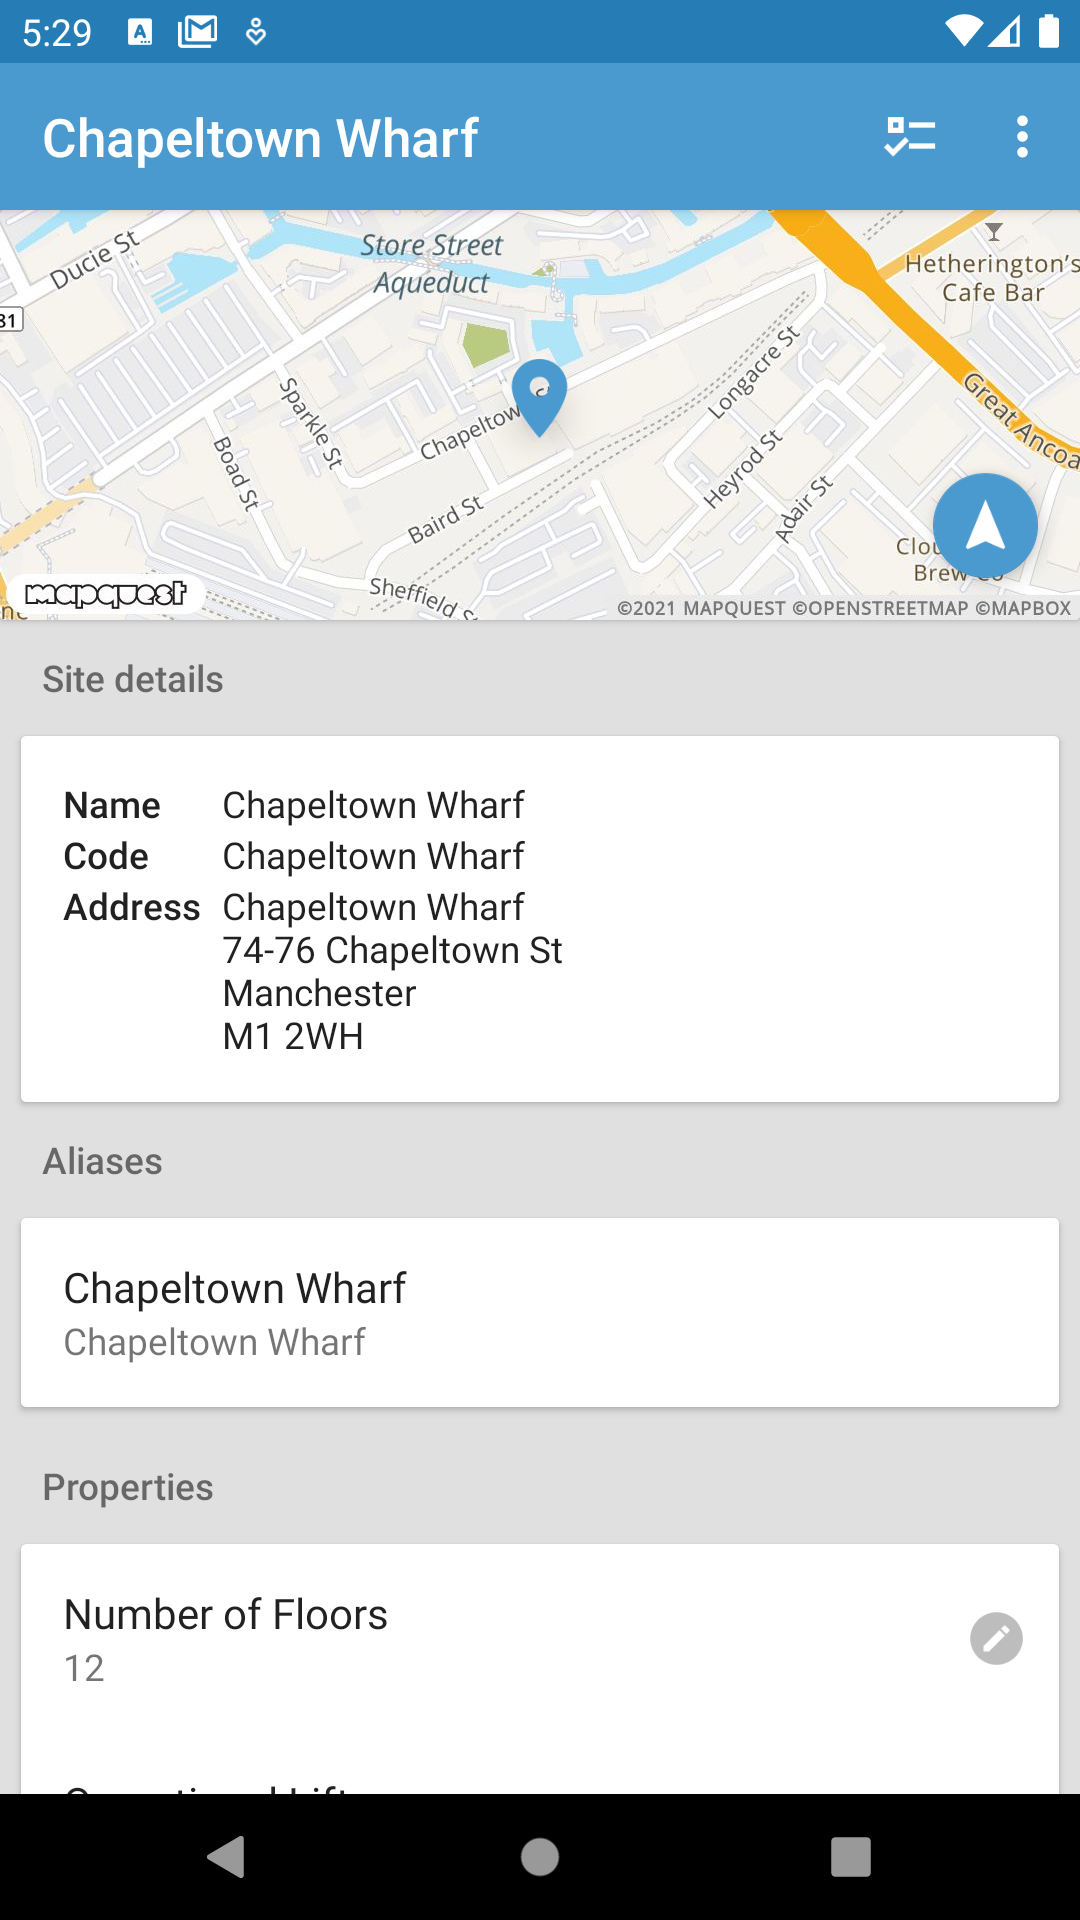
Selecting the Site from the list will show the site detail in the App. This includes:
- Site Postal Address
- Site Location on Map (you can use this to enter the navigation function)
- Site Properties
- Site Journal Notes
Navigation to Site
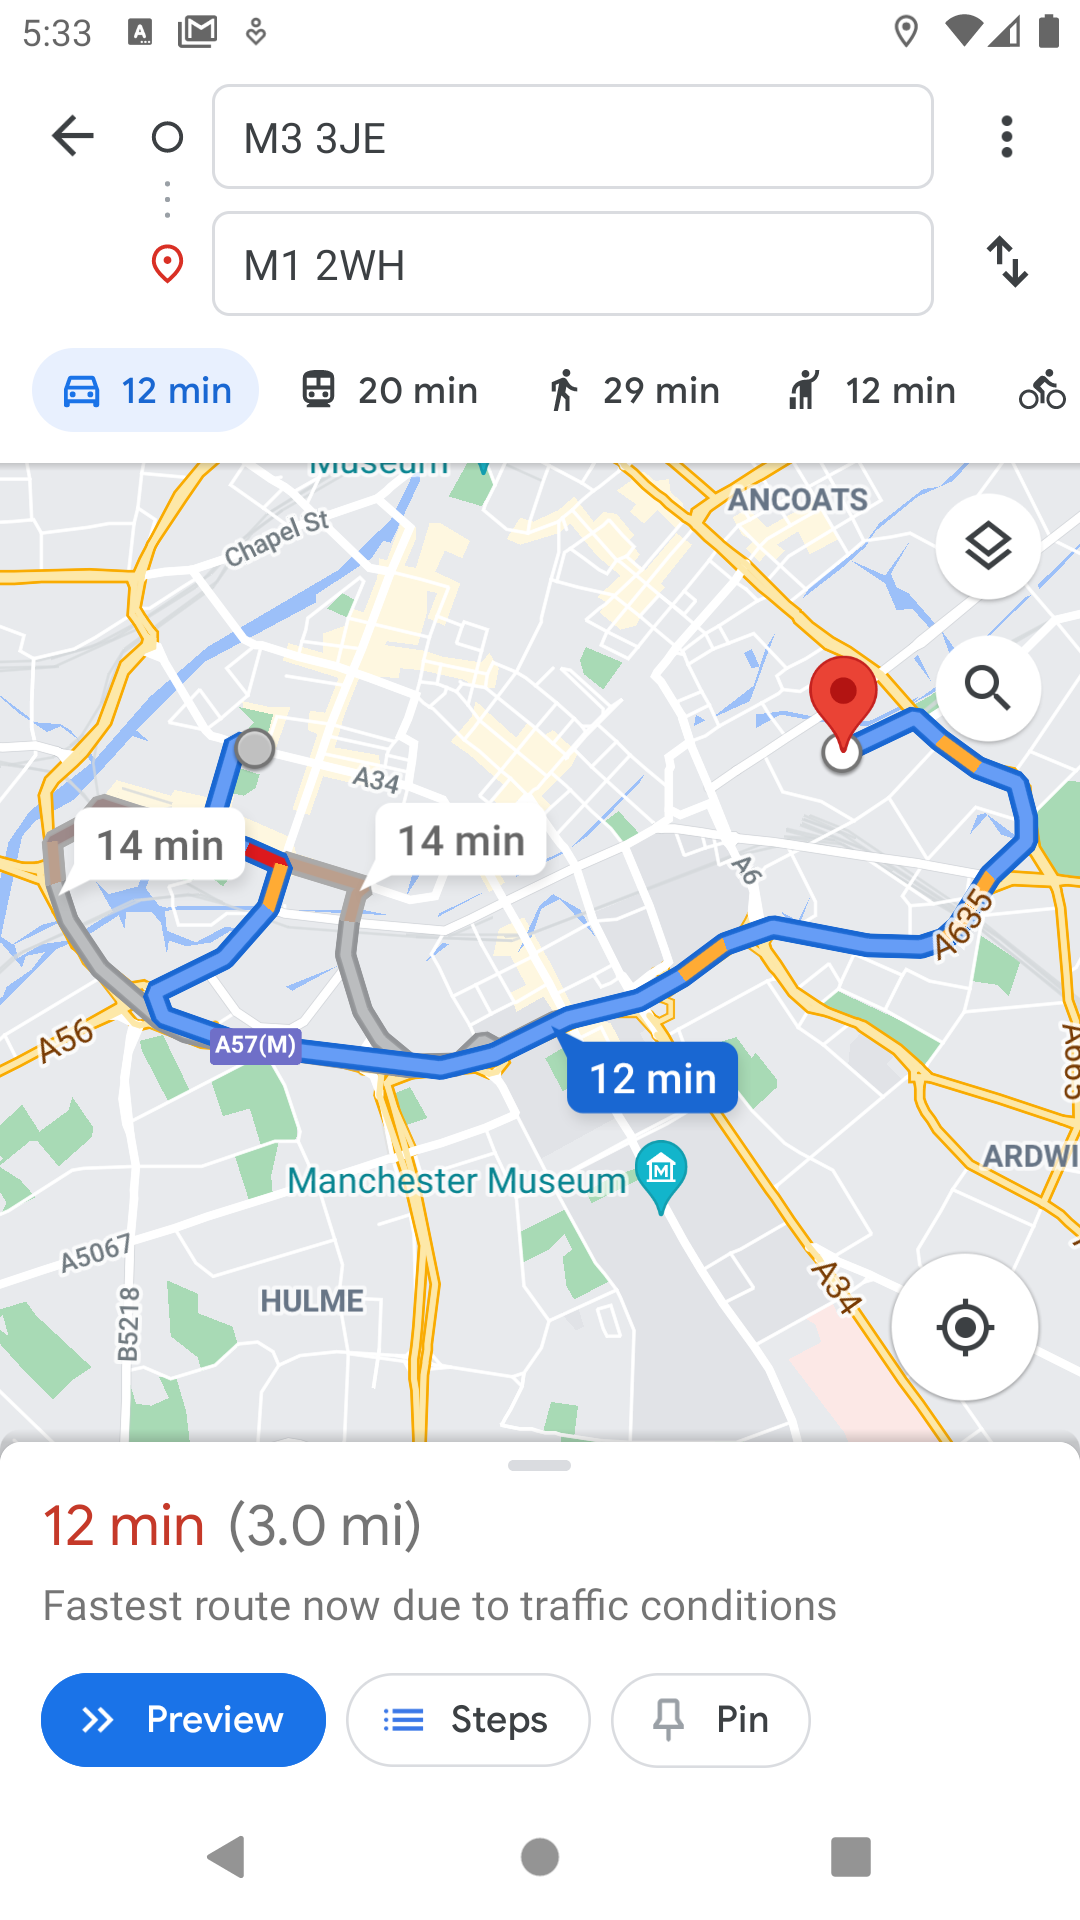
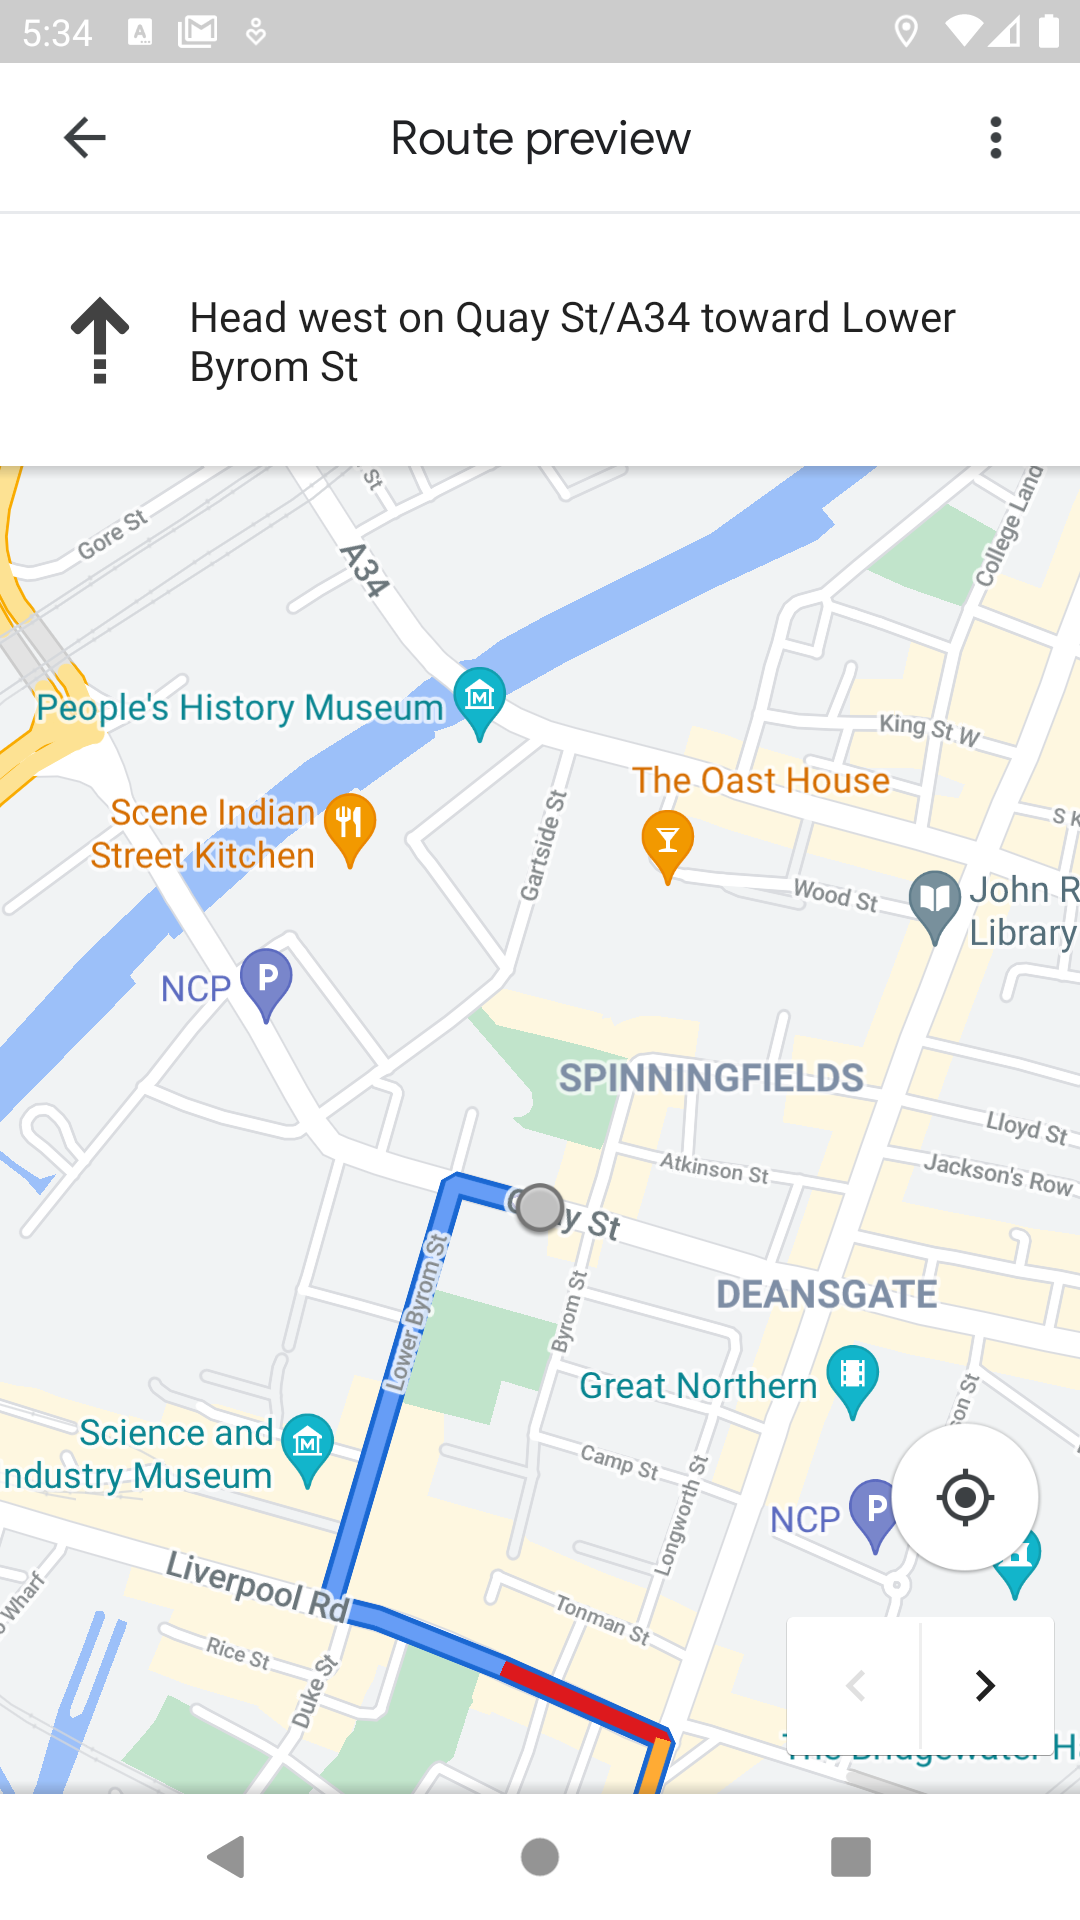
Clicking on the Navigation arrow in the map will launch the native mapping application on the device either Google Maps or Apple Maps. The user can now be directed to the site. You can go back to the Mobile App by pressing the back button (triangle at the bottom of the screen).
Site Properties and Journal
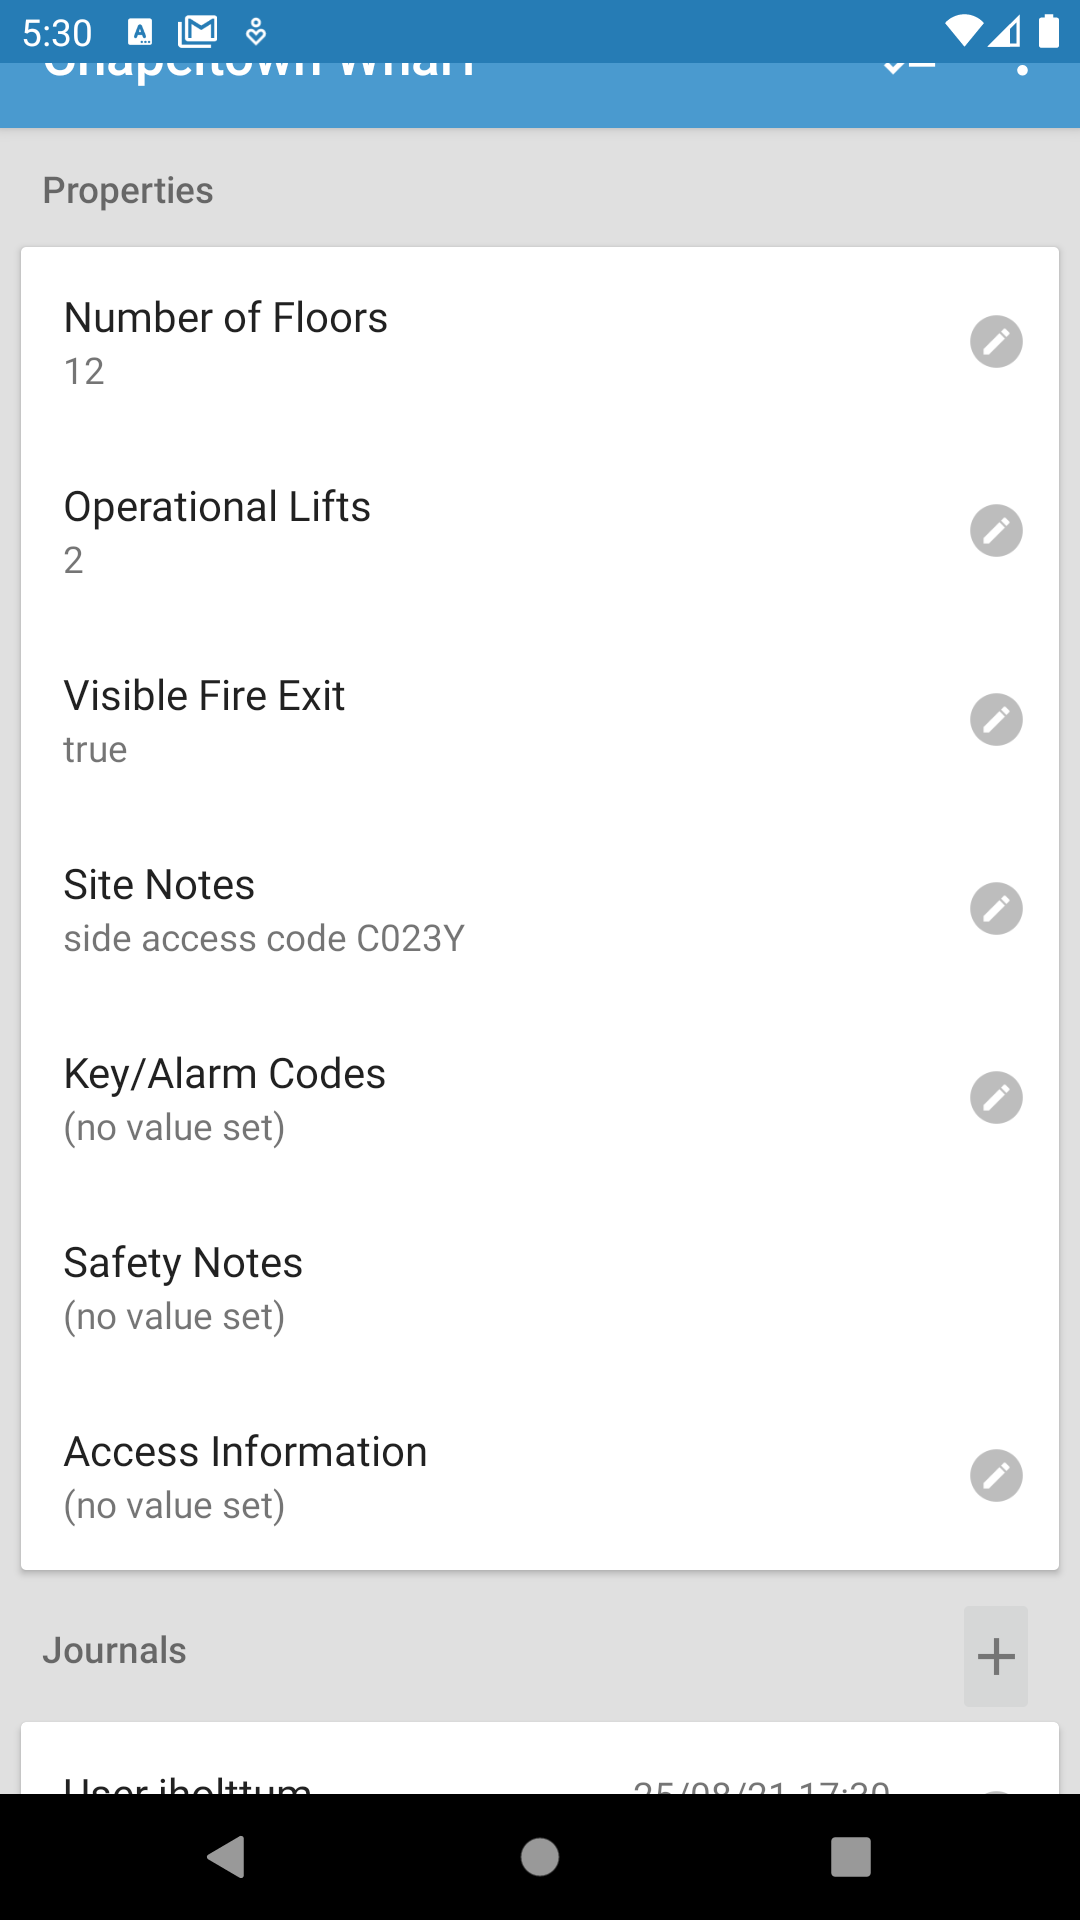
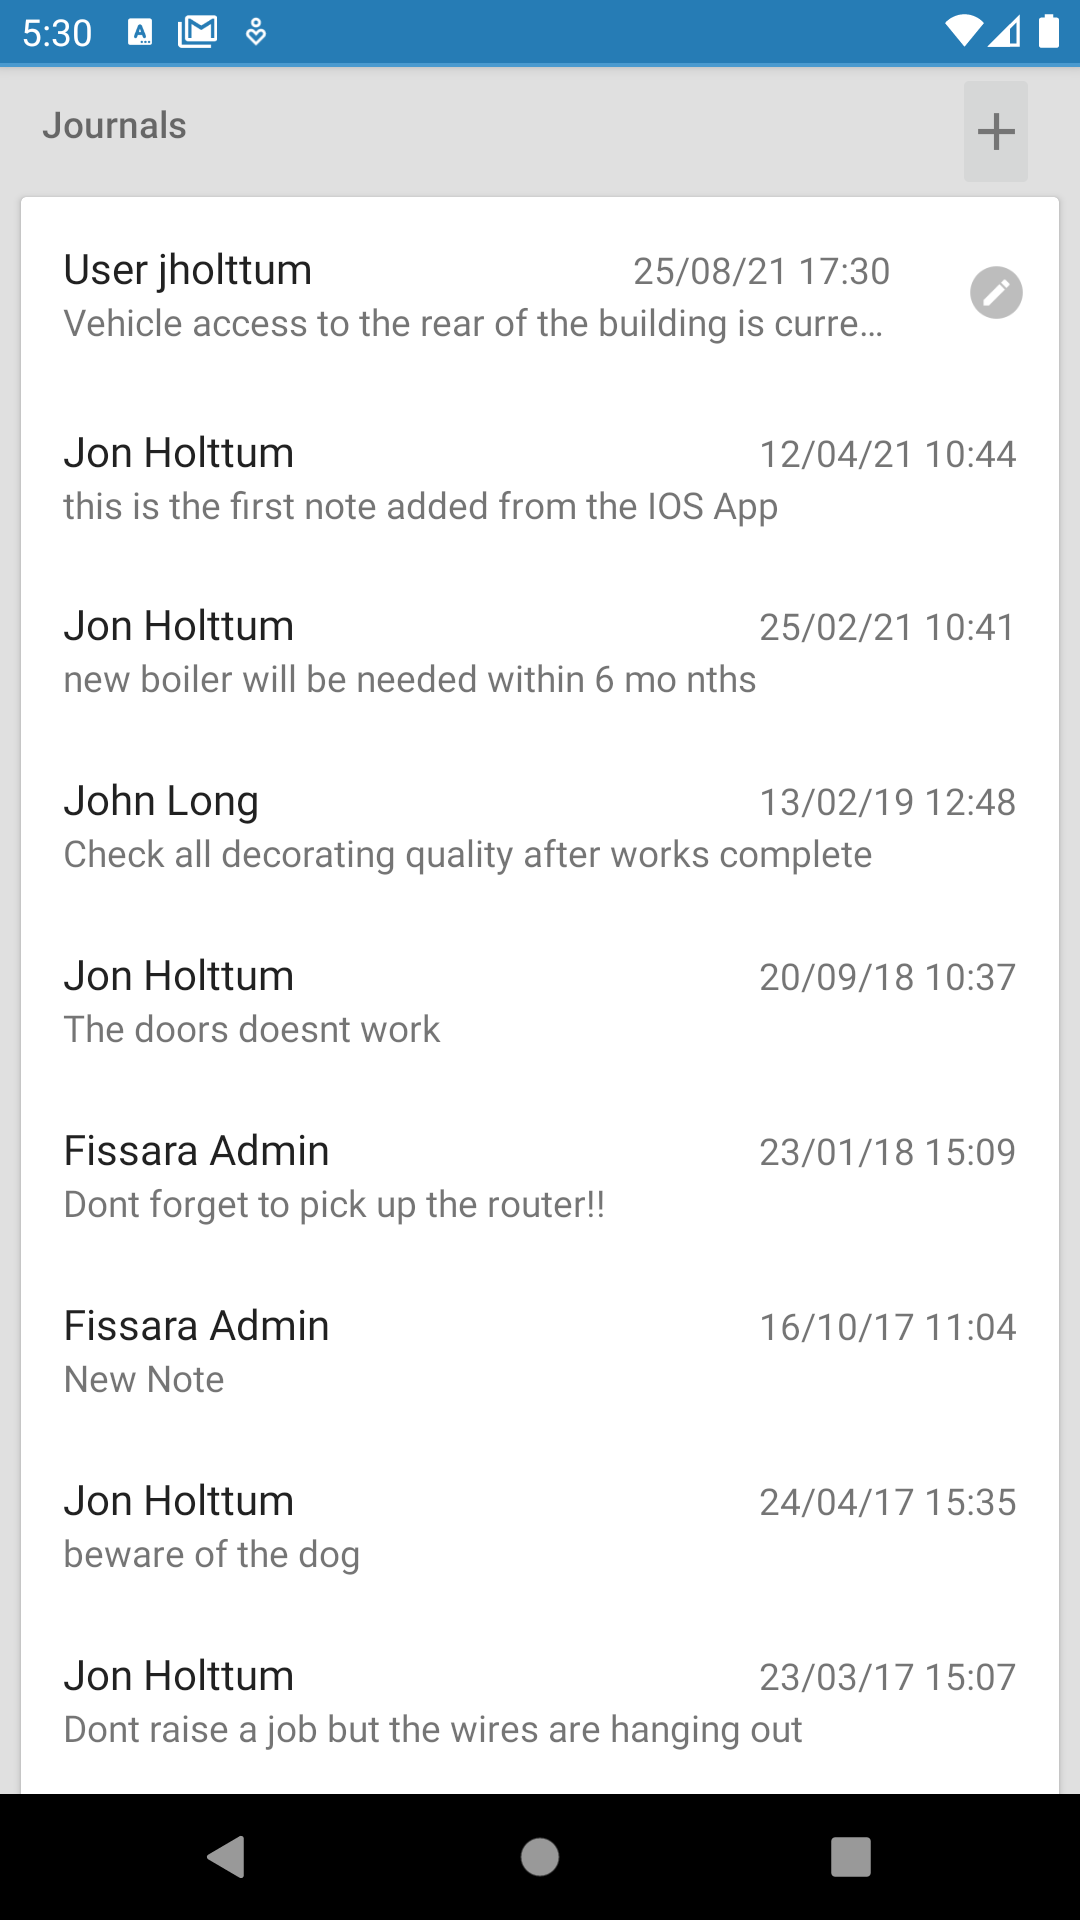
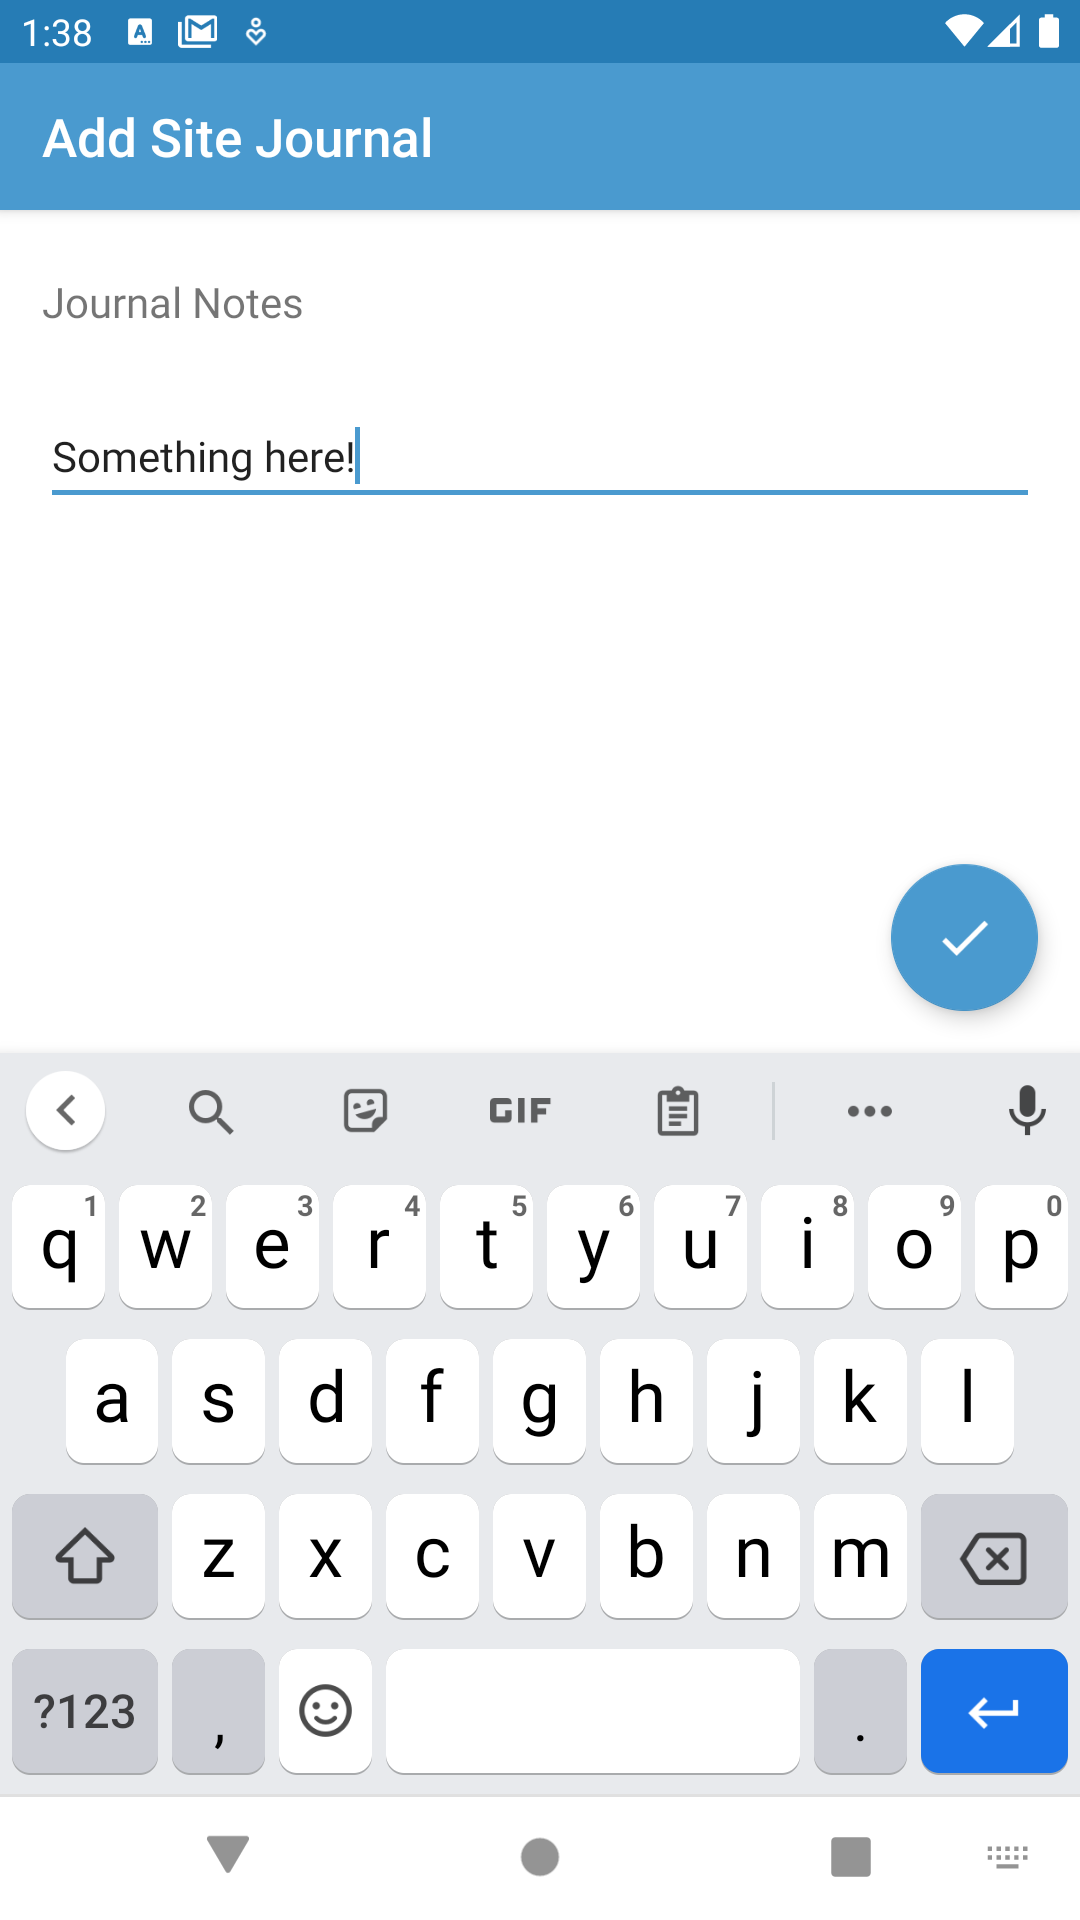
Scrolling down the Site Details page will show additional Properties for the Site (Site Notes, Key/Alarm Codes, Safety Notes and Access Information are default properties). The System Admin User can set which properties can be amended on the App and also add additional properties based on the site type ⊕ Info Here. Scrolling further down the page you can see any journal entries against the Site. It is also possible to add a new journal entry by clicking the + symbol and adding the “Journal Notes” and saving the note with the tick icon.
