This information is submitted to the Vehicle Report on completion which we will cover in the Report section.
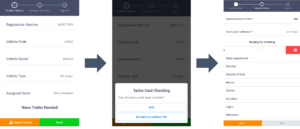
The driver needs to check that the vehicle details are correct and needs to select a trailer.

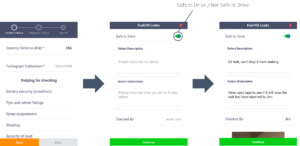
Once the driver has selected the trailer and checked that the vehicle details are correct, the user needs to enter the vehicle starting mileage and the Tachograph Calibration date. Next the user will need to complete the vehicle checklist, swiping left or right on the vehicle checklist to log any faults found.
By swiping left, you can report any faults on the relevant items and add photos and descriptions. You can alternatively swipe right to approve a vehicle check.

If the vehicle is not safe to drive due to the defect, the driver can set the vehicle to off-road by clicking the switch to ‘Not Safe to Drive’. After reporting the vehicle off-road, once the check in is completed, the driver will automatically be logged out of the app and will not be able to complete any jobs. If the vehicle was wrongly set to ‘Off Road’, the user can change the Operational Status to ‘In service’ on Vehicle Management.
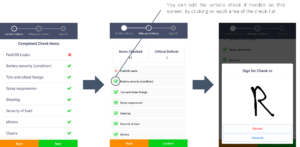
Before completing the check in, the driver can view the summary of all the details he has entered.

If no critical defects are found, the driver can go on to view the job list page and start the day. Finally you will be asked to Sign for Check-In.
Notes
- The order can only be changed through the allocation screen on a web console
- If a job is deleted in the allocation screen on the web console when it is in progress, the driver will have to complete the job on the app as it has already started. However, the job status will remain deleted and an invoice will not be created